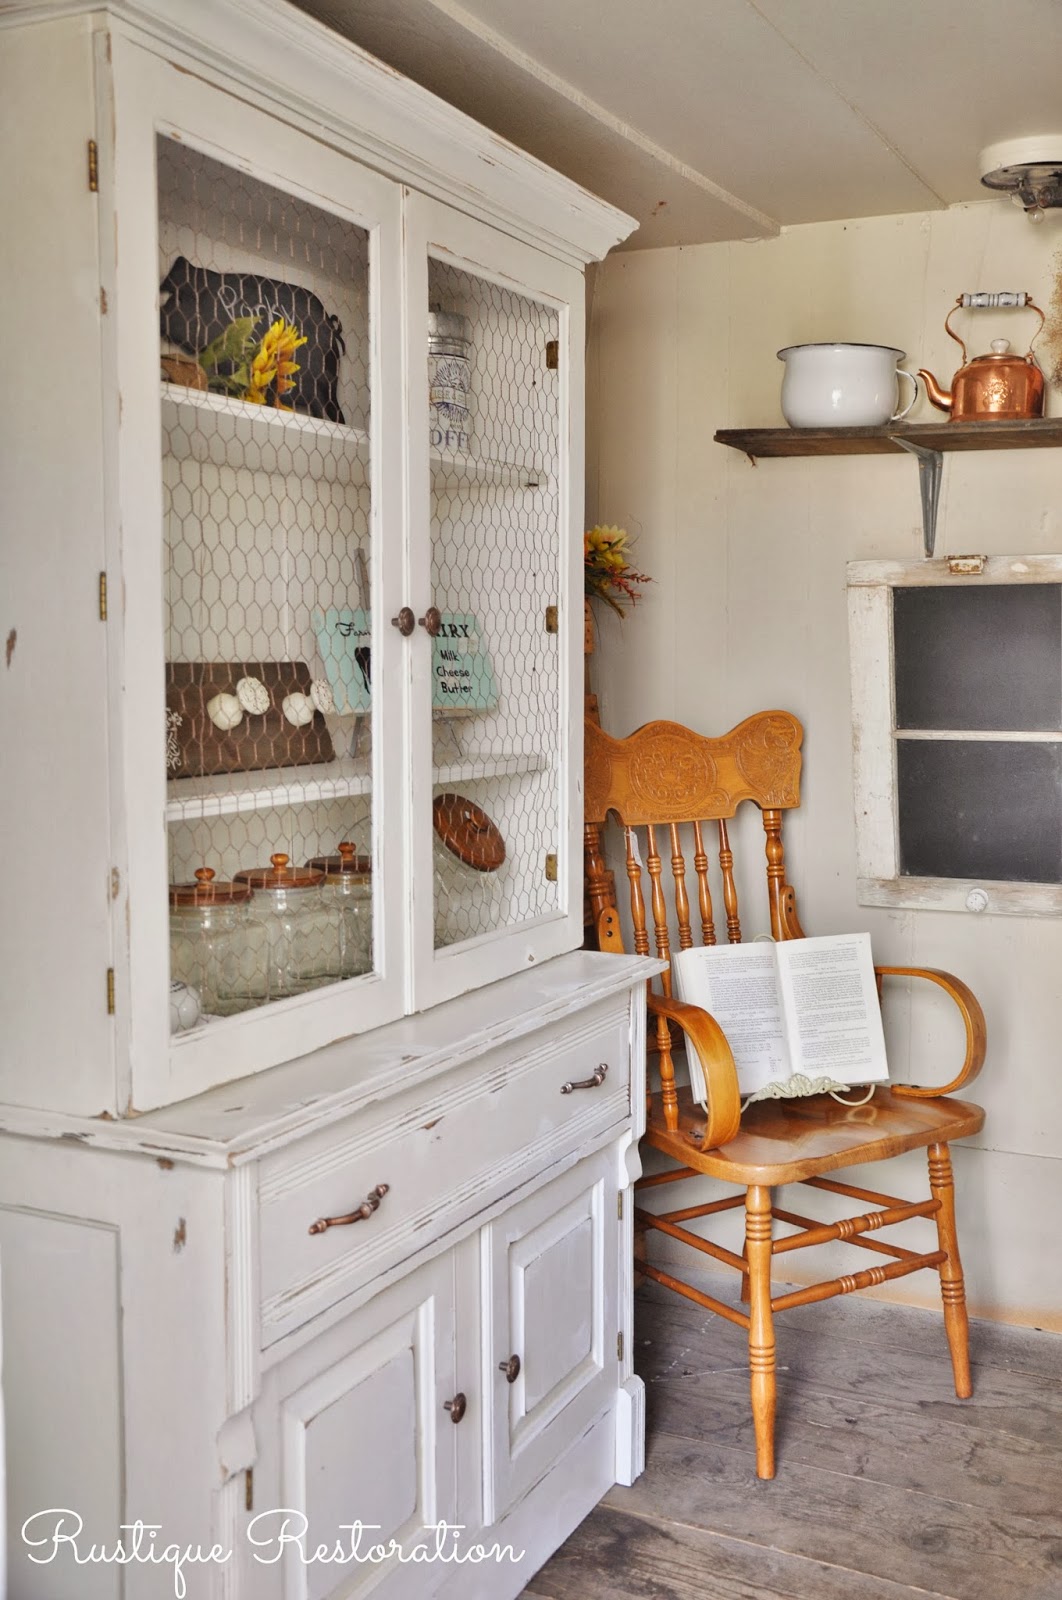
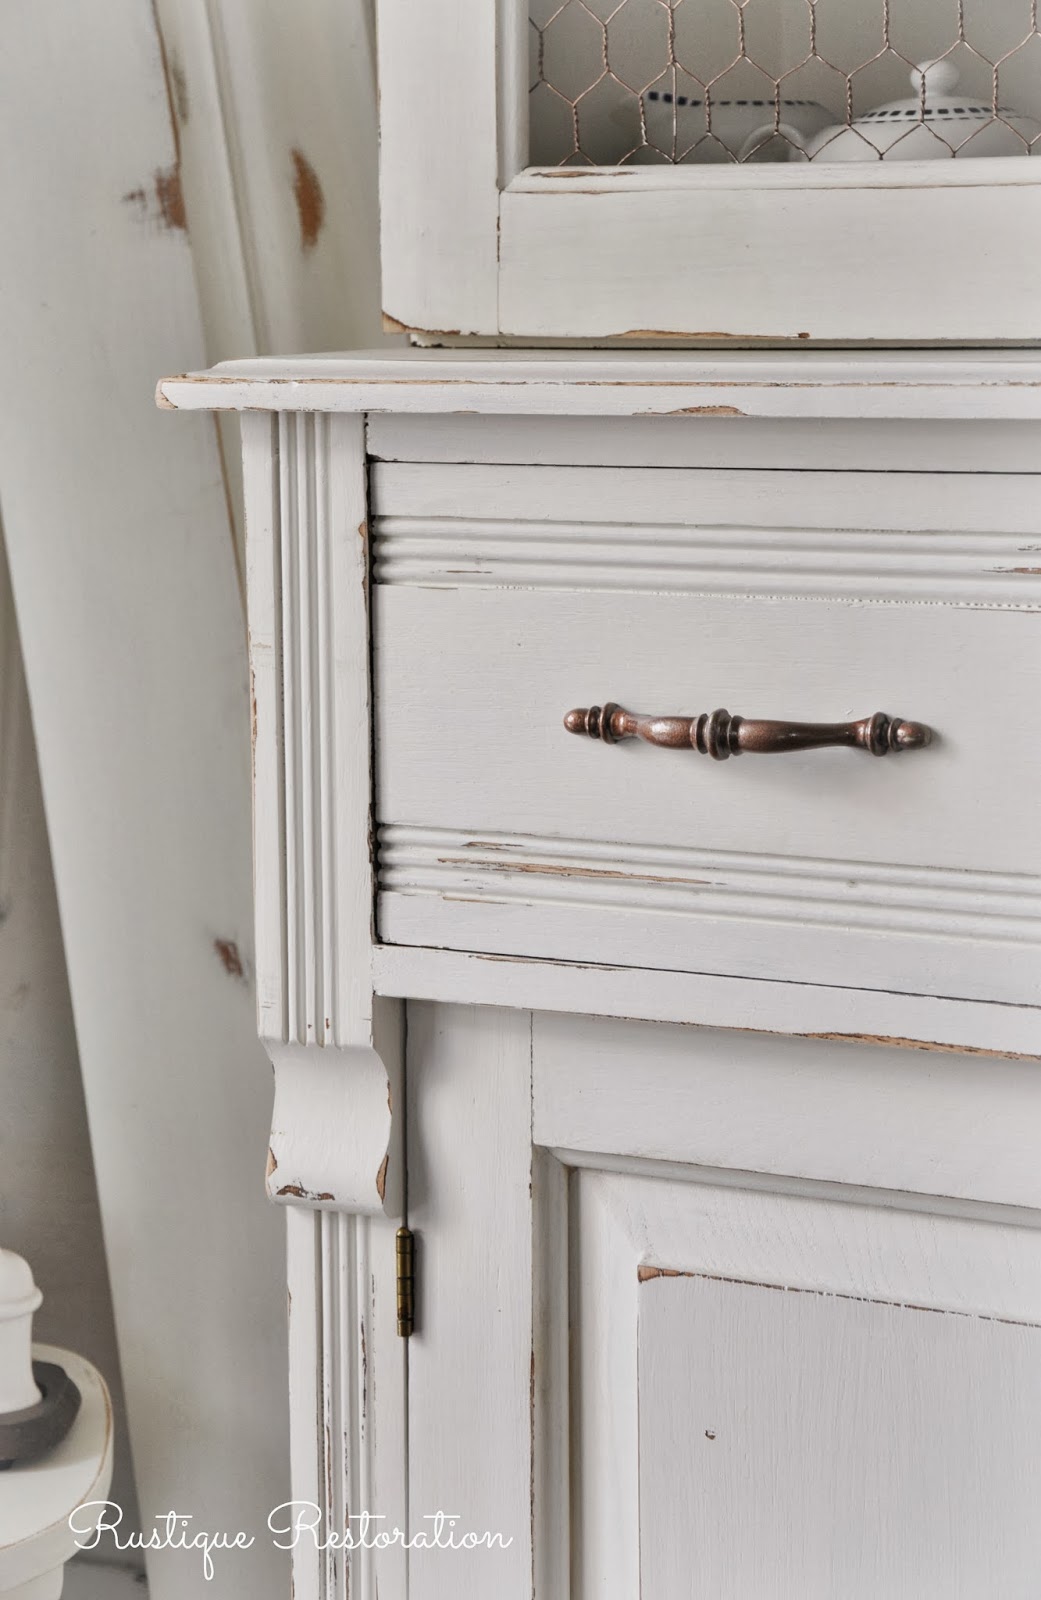
So my husband and I built these reclaimed wood shelves over the weekend. We used some old fencing that was given to us from a friend, and I LOVE how it came together. My thought was to build something to display all of the beautiful white dishes I have for sale at my shop. Don't they look so pretty against that dark aged wood?
These are two of my greatest loves! Aged wood with a gorgeous patina and white dishes! Some old, some new.. doesn't really matter to me.. I love a mix on my shelves!
I'm a sucker for platters.. each one I find has a different feeling and character of its own.
Yes.. Platters have feeling don't they?! Ha!
Throw in an old linen and add instant vintage charm.
So this really was the easiest set of shelves to build! Here is a list of the materials we used, and a general idea on how we put it together.
Sides: (2) 6" fencing boards
Back: (9) 6" fencing boards
Middle Shelf Support: (1) 2x4, cut down into two pieces the length of your sides
Shelves and Top: (4) 1x12 boards, cut to the length of your shelves
Wood Stain: Similar in color to your old fencing
Keep in mind that when you're using old fencing, you already have 2x4 support for the top and bottom shelf from when it was used to keep the fence together. So you only have to add support for your middle shelf. The rest is already there. I stained the new pieces of 2x4 with Mixwax in Jacobean. It matched perfectly! My shelves were already aged from laying out in my side yard. But if you have to purchase new boards, just find a stain that matches close to your fencing. And keep in mind that it doesn't have to be perfect.. this is an aged piece with rustic character! We used large 2" wood screws to hold it all together. Well, that's it! Pretty simple. I'm sorry I didn't get some pictures of the process, but once you lay out your materials, you'll see how it all comes together. Good luck!!
So while I've got you here, I would love to share a couple quick pictures of my shop. It's been awhile :)
Until next time, have a wonderful day!! Thanks for stopping by, and questions and comments are ALWAYS welcome and appreciated!

 Have a great day!! xo